
DIY Custom VR Setups: A Step-by-Step Guide for Canadian Enthusiasts


Introduction to DIY Custom VR Setups
The world of virtual reality (VR) is expanding rapidly, offering endless possibilities for entertainment, education, and innovation. For Canadian enthusiasts keen on customizing their VR experience, creating a DIY VR setup can be both rewarding and cost-effective. In this guide, we'll walk you through the process of building your own custom VR setup, tailored to your unique preferences and needs.

Choosing the Right Components
Before you start assembling your VR setup, it's crucial to select the right components. The two main elements you'll need are a VR headset and a powerful computer. Popular headsets include the Oculus Quest 2, HTC Vive, and Valve Index. Each offers different features, so consider what suits your needs best.
A strong computer is equally important, with a high-performance graphics card being essential for smooth VR experiences. Aim for at least an NVIDIA GTX 1060 or AMD Radeon RX 580, but the more powerful, the better. Don't forget to check compatibility between your PC and chosen headset.
Additional Accessories
Enhance your VR setup with additional accessories like motion controllers, a VR-ready chair, and sensor mounts. These extras can significantly improve your immersion and comfort during virtual experiences.

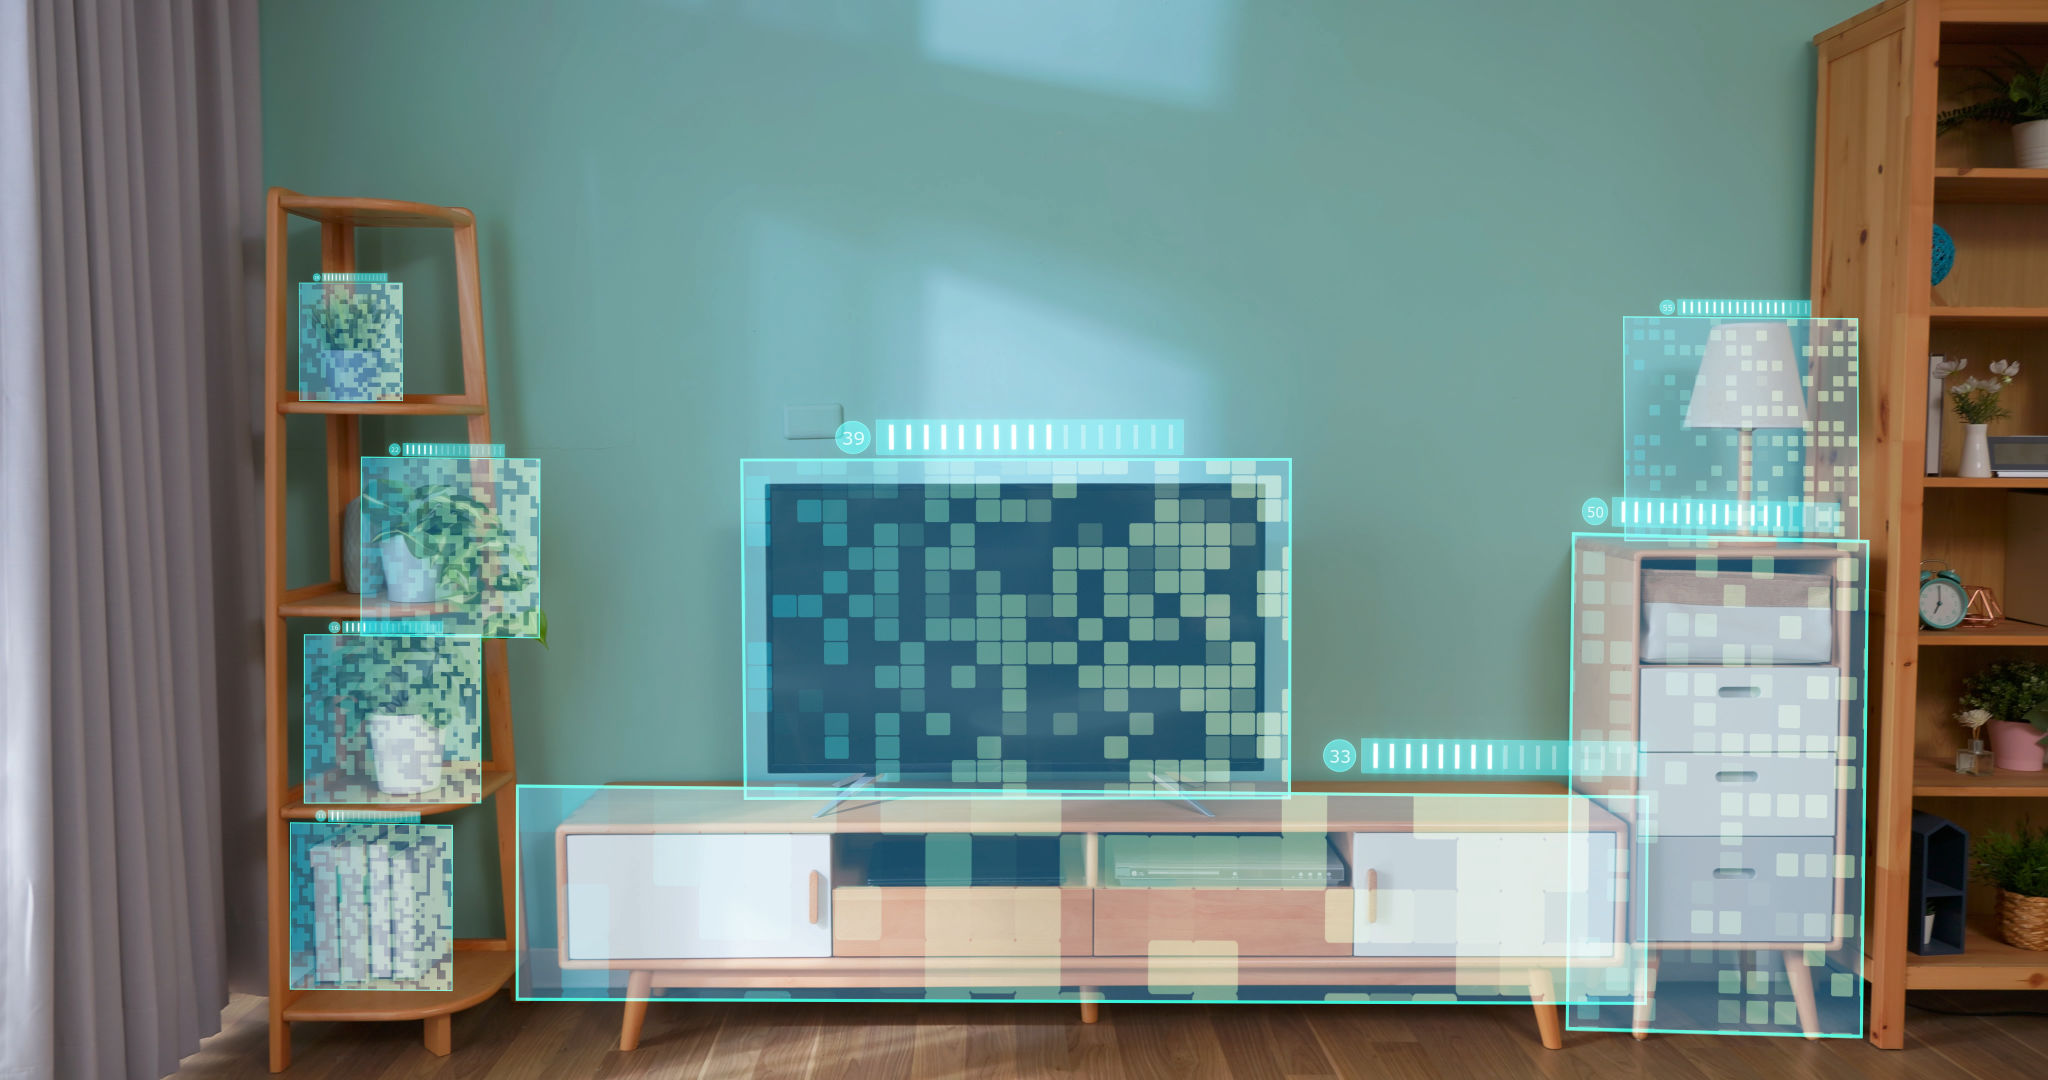
Setting Up Your VR Space
Your physical environment plays a big role in VR experiences. Choose a spacious area free of obstacles where you can move freely without risk of injury. Consider using wall mounts or stands for sensors to cover a broader tracking area.
Ensure your room has adequate lighting and minimal reflective surfaces to prevent tracking interference. It's also wise to mark your play area with non-intrusive boundaries using furniture or tape.
Cable Management
Cables can quickly become a nuisance in a DIY VR setup. Invest in cable management solutions such as clips, ties, or retractable systems to keep everything tidy and safe. Wireless options are becoming more prevalent, offering greater freedom of movement.

Software and Calibration
Once your hardware is ready, it's time to configure the software. Install the necessary drivers and software updates for your VR headset and computer. Platforms like SteamVR or Oculus Home provide user-friendly interfaces for setup and calibration.
Calibrate your system by following the on-screen instructions provided by your VR platform. Proper calibration ensures accurate tracking and enhances the overall experience. Don't skip this step!
Testing Your Setup
Before diving into full VR experiences, test your setup with simple applications to ensure everything is functioning correctly. This step will help identify any issues early on, allowing you to make adjustments before engaging in more demanding VR activities.
Maintenance and Troubleshooting
Regular maintenance of your VR setup ensures longevity and optimal performance. Clean your headset lenses regularly with microfiber cloths and check all connections for wear and tear.
If you encounter any problems, consult online forums or support communities where fellow enthusiasts share solutions and advice. Many common issues have straightforward fixes that can save you time and frustration.
Staying Updated
The VR landscape is continually evolving, with new technologies emerging regularly. Stay informed about the latest updates and advancements to keep your DIY setup current and enjoy the best possible experiences.
Conclusion
Building a custom DIY VR setup in Canada is an exciting journey that offers unparalleled personalization and satisfaction. By following these steps and staying engaged with the vibrant VR community, you'll create a virtual reality experience that perfectly matches your vision. Embrace the future of entertainment by diving into the world of DIY VR today!